Create Order in Your Craft Room with Color Codes and Labels

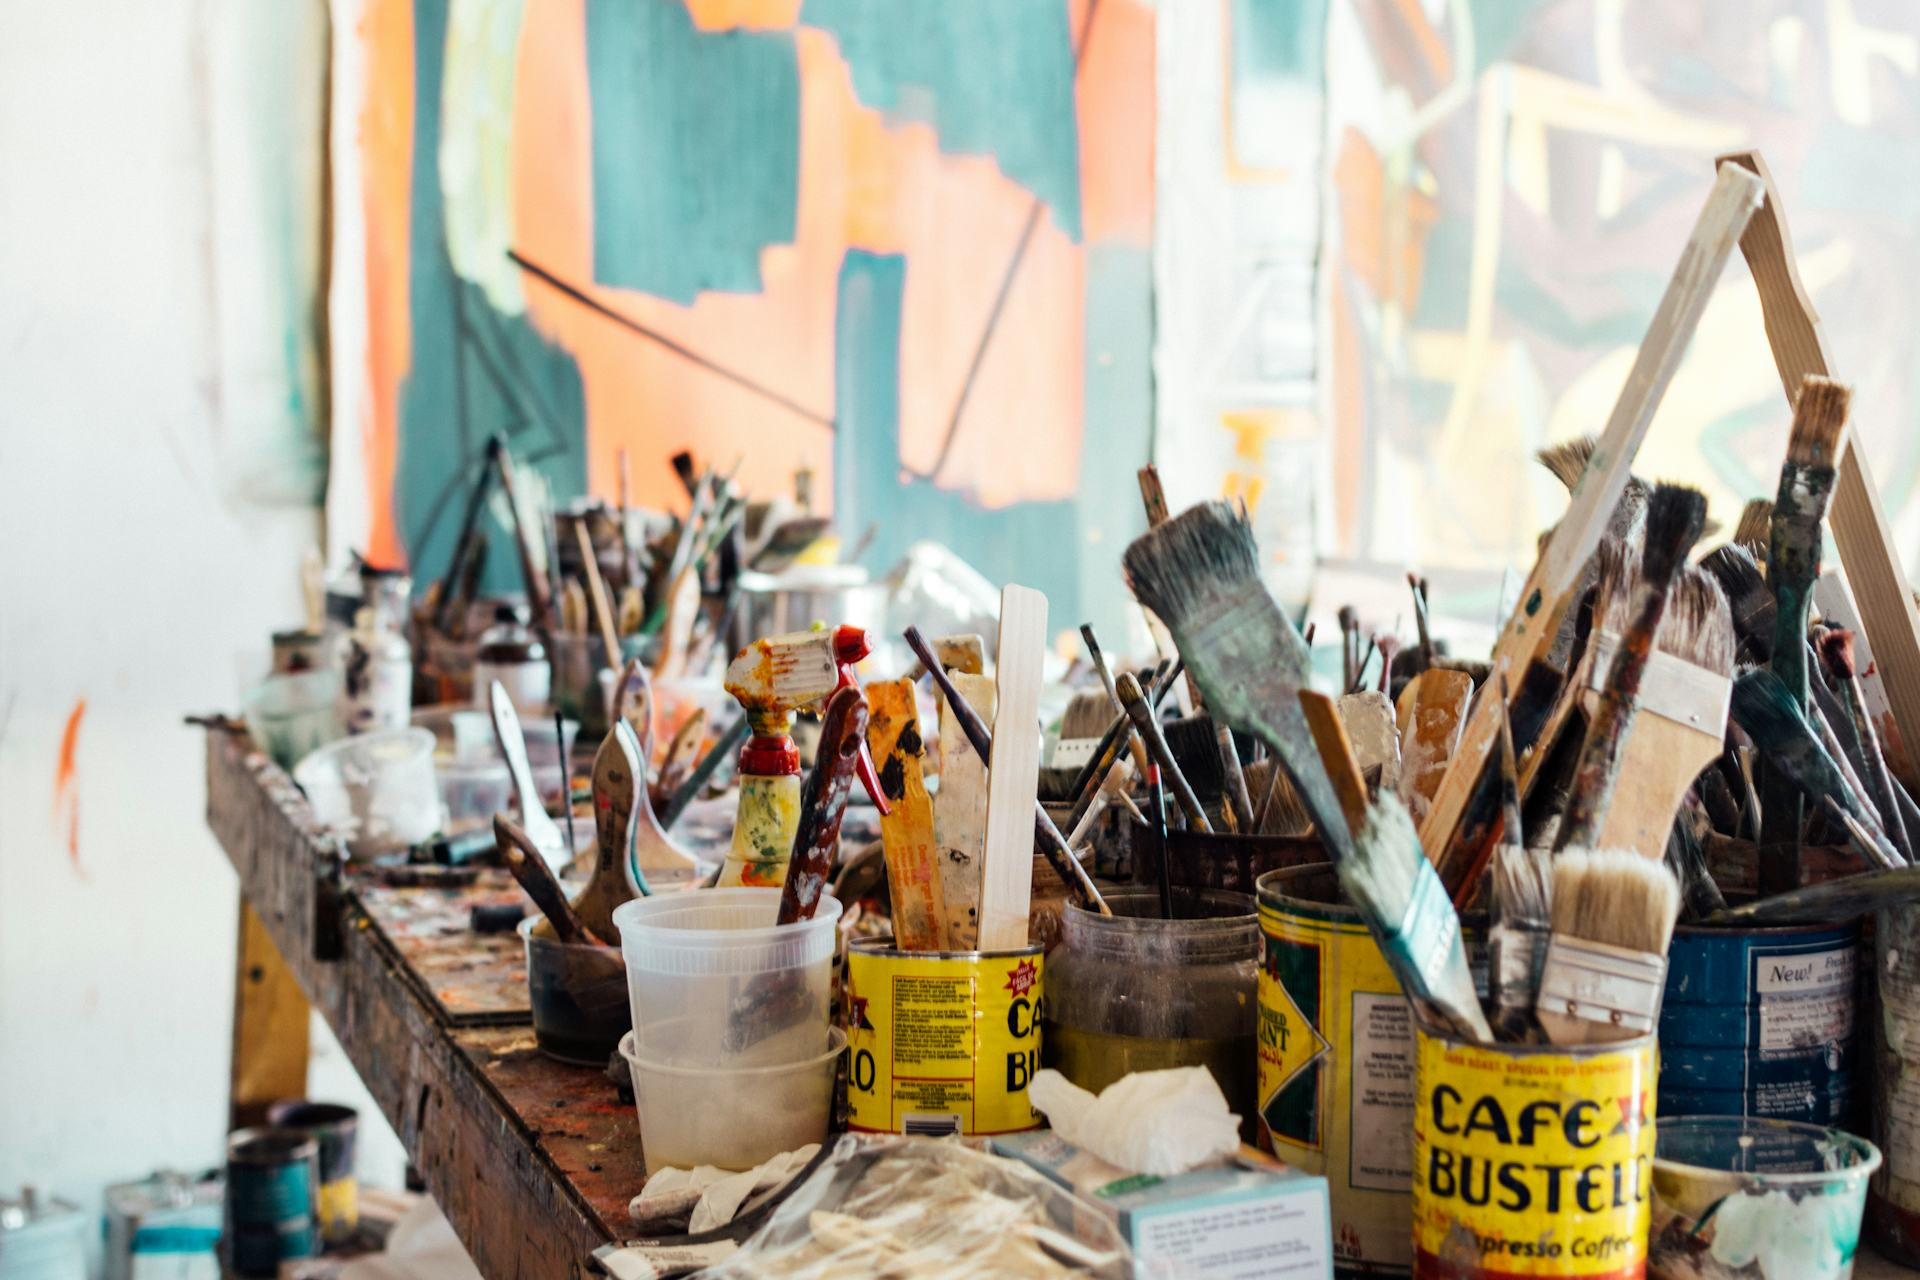
Create Order in Your Craft Room with Color Codes and Labels
A craft room is a place where creativity flourishes—but it can also be where clutter takes over. Paints, yarn, paper, and tools have a way of spreading out, and before you know it, finding what you need becomes a project in itself. The good news is that a simple system of color codes and labels can make a world of difference. Here’s how to bring order to your craft space so you can spend more time creating and less time searching.
Start by Taking Inventory
Before diving into colors and labels, start by getting a clear picture of what you have. Empty shelves, drawers, and bins, and sort your supplies into categories: paint, paper, fabric, tools, beads, thread, and so on. This step helps you see how much space each category needs and where it makes sense to store things.
Once sorted, think about creating zones in your craft room. You might have one area for active projects, another for storage, and one for tools or equipment. A logical layout makes it easier to keep things organized over time.
Use Color Codes for Quick Recognition
Color coding is a simple yet powerful way to bring structure to your space. Assign each category its own color so you can instantly see where things belong.
- Red for paints and brushes
- Blue for paper and drawing supplies
- Green for fabric and sewing materials
- Yellow for tools and hardware
- Purple for ongoing projects
You can apply these colors in many ways: colored bins, tape on shelves, stickers on lids, or colored labels. The key is consistency—make sure blue always means paper, no matter where you see it.
Labels That Make Finding and Cleaning Up Easy
Labels are the finishing touch that make an organized craft room truly functional. They not only help you find what you need but also make it easier to put things back where they belong. Use clear, easy-to-read labels with both text and, if you like, small icons for quick identification.
You can buy pre-made labels or create your own with a label maker, printer, or even by hand. If kids use the craft room too, consider using pictures instead of words—it helps everyone keep things tidy.
Transparent storage bins are a great choice because you can see the contents while still reading the label. This saves time and prevents the frustration of opening multiple boxes to find one item.
Keep the System Flexible
Your craft room will evolve as your interests change. New hobbies appear, old ones fade, and your storage needs shift. That’s why it’s smart to design a system that can adapt. Use labels that can be easily replaced, and avoid making your color code too complicated.
You might also want a “miscellaneous” bin or shelf for items that don’t yet have a permanent home. When you reorganize later, you can decide whether they deserve their own category or should be donated or discarded.
Make It Inviting and Personal
An organized craft room doesn’t have to feel sterile. In fact, your color codes and labels can become part of the room’s charm. Choose colors that match your personal style and materials you enjoy looking at—wood, metal, glass, or woven baskets all add warmth and texture.
Decorate your labels with washi tape, small patterns, or hand-drawn icons. A personal touch makes the system more enjoyable to use and keeps you inspired. When your space feels welcoming, it’s easier to maintain order.
Læs også:

An Investment in Creative Calm
Organizing your craft room isn’t just about tidiness—it’s about creating space for creativity. When you know exactly where everything is, you can jump right into your projects without wasting time searching. Color codes and labels are small tools with big impact: they bring peace of mind, clarity to your space, and more time for the joy of making.
Læs også: