Paint Ceilings with Texture Without Compromising on Detail

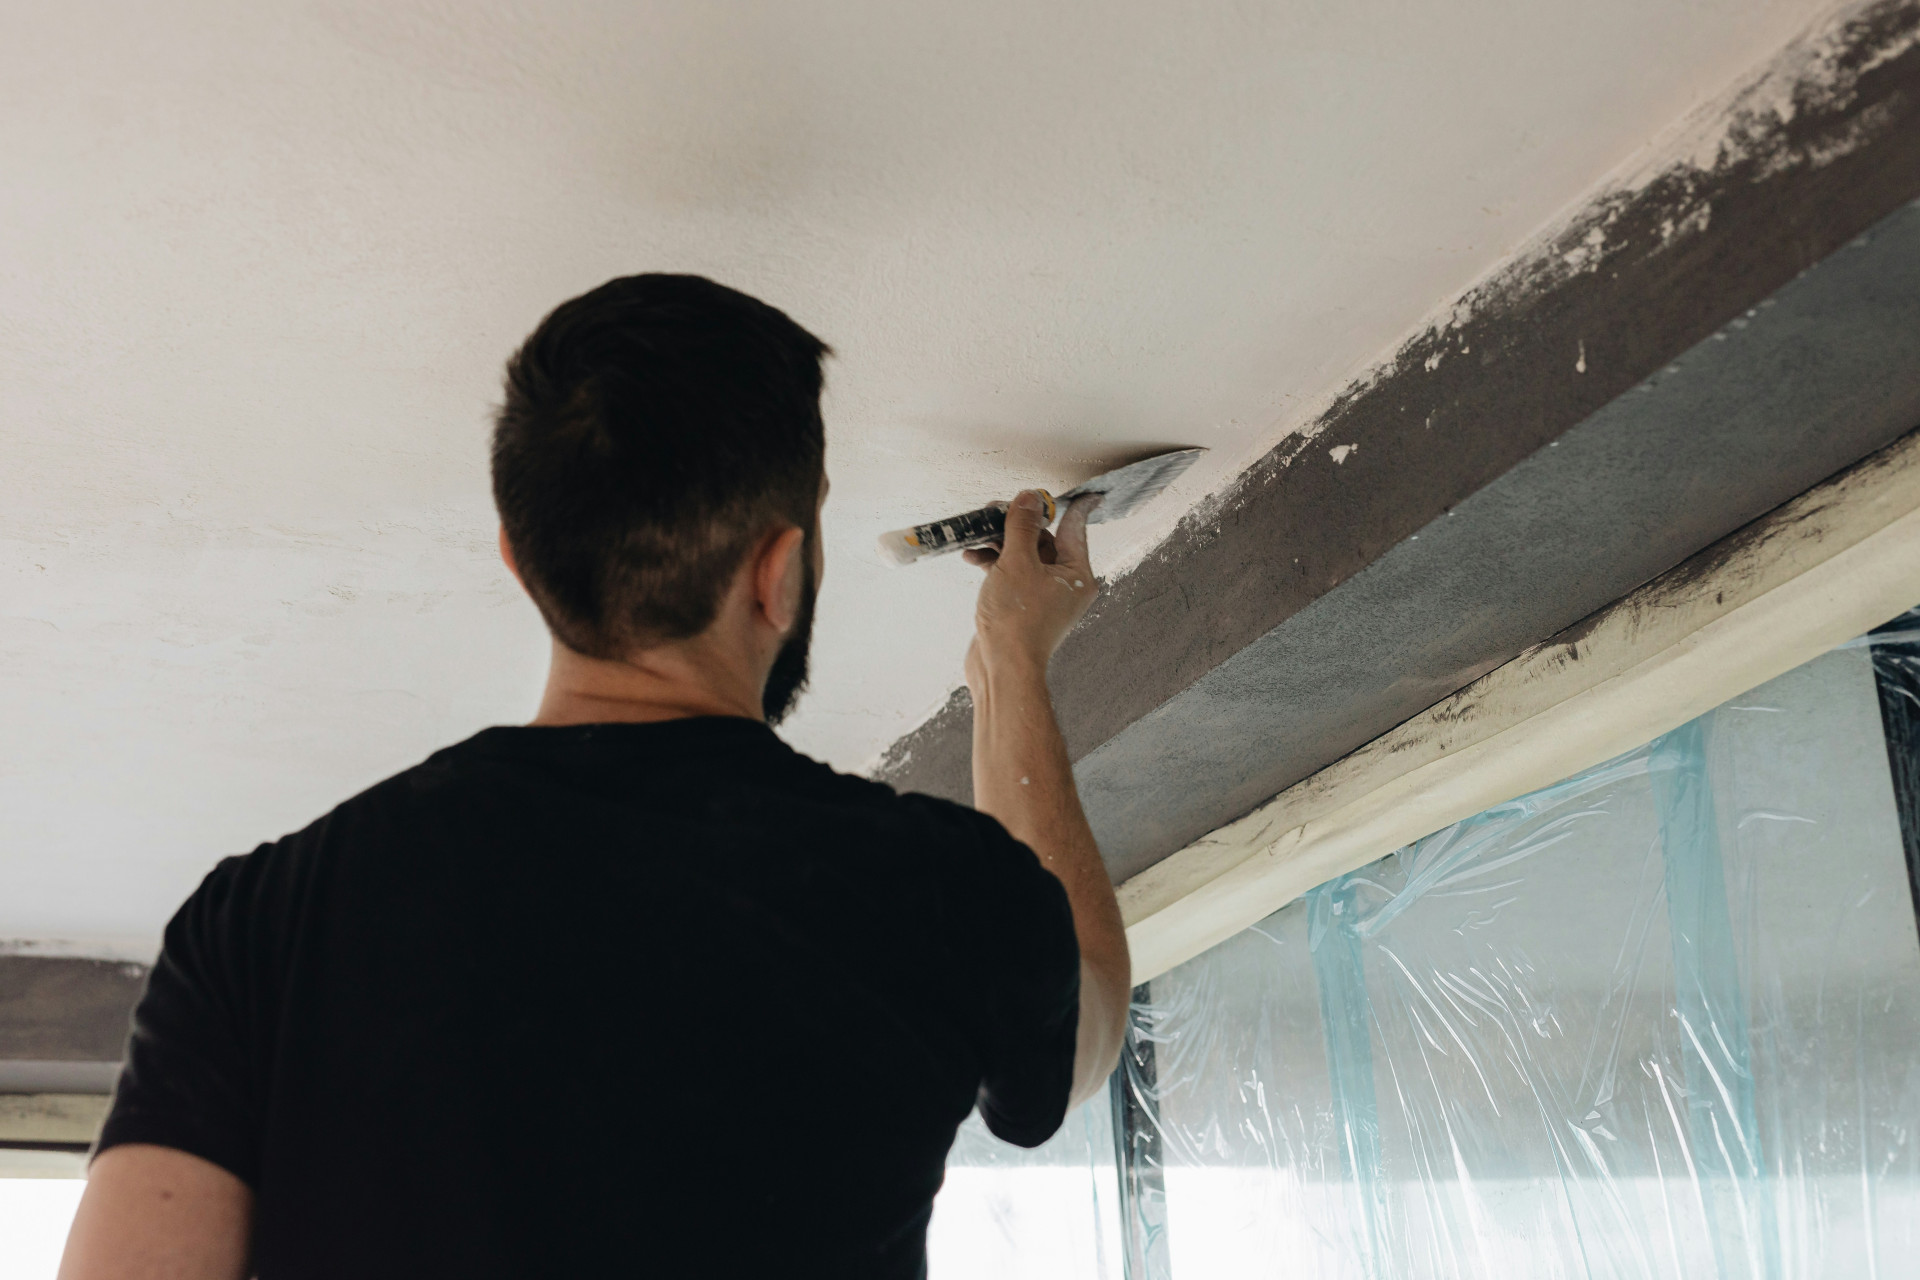
Paint Ceilings with Texture Without Compromising on Detail
A textured ceiling can add depth, warmth, and visual interest to any room. Yet many homeowners hesitate to paint them, worried that texture will hide fine details or create an uneven finish. The good news is that with the right preparation, tools, and technique, you can paint textured ceilings without losing precision or quality. Here’s a practical guide to help you achieve a professional-looking result.
Understand the Texture – and Choose the Right Type
Before you start, it’s important to know what kind of texture you’re working with. Common ceiling textures in U.S. homes include:
- Light texture – such as orange peel or light knockdown, which adds subtle dimension and is easy to paint.
- Medium texture – like heavy knockdown or swirl patterns, which create a more pronounced look.
- Heavy texture – such as popcorn or stucco, which require more paint and careful application.
The heavier the texture, the more paint you’ll need for even coverage. Choose a ceiling paint with high opacity and a flat or matte finish to minimize glare and hide imperfections. If you’re covering an older popcorn ceiling, make sure it’s asbestos-free before you begin—many homes built before the 1980s may contain asbestos materials.
Preparation Is Key
A flawless finish starts with proper prep work. Dust, grease, and loose debris can prevent paint from adhering properly. Take time to:
- Clean the ceiling with a soft brush or vacuum attachment to remove dust. For greasy areas (like in kitchens), use a mild detergent solution and let the surface dry completely.
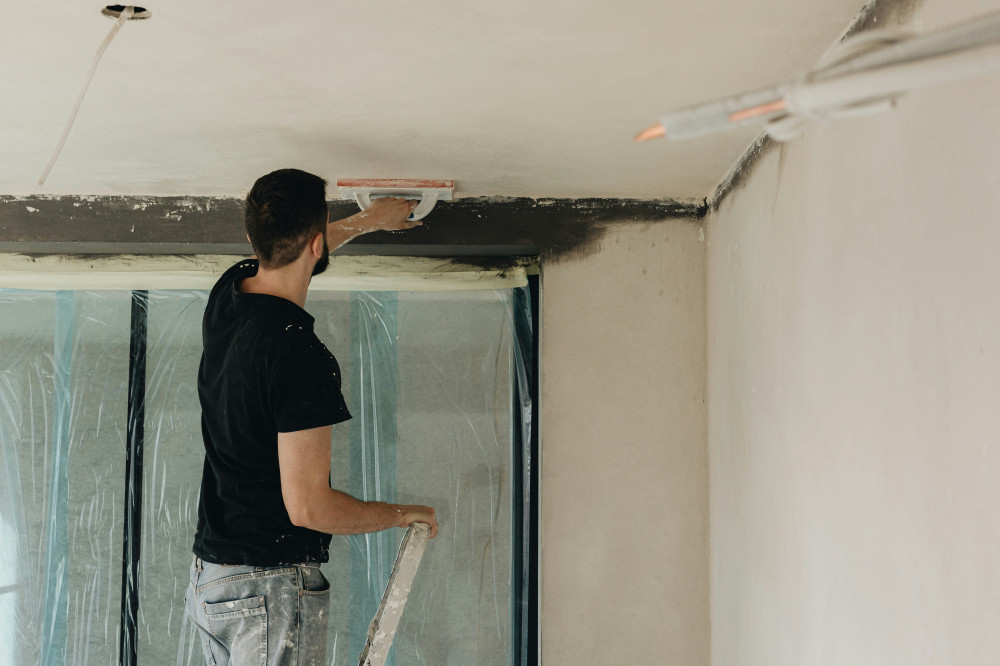
- Repair imperfections – fill cracks or holes with lightweight spackle and sand lightly once dry.
- Protect your space – cover walls, floors, and furniture with drop cloths or plastic sheeting. Use painter’s tape along edges and fixtures.
If the ceiling has been previously painted with a glossy finish, lightly sand it to help the new paint bond better.
Choose the Right Tools
Painting textured ceilings requires tools that can reach into the grooves and crevices of the surface. Standard rollers may not do the job, so opt for:
- A roller with a thick nap (½ to ¾ inch) to ensure full coverage on textured surfaces.
- A sturdy extension pole to help you paint comfortably and evenly without straining your shoulders.
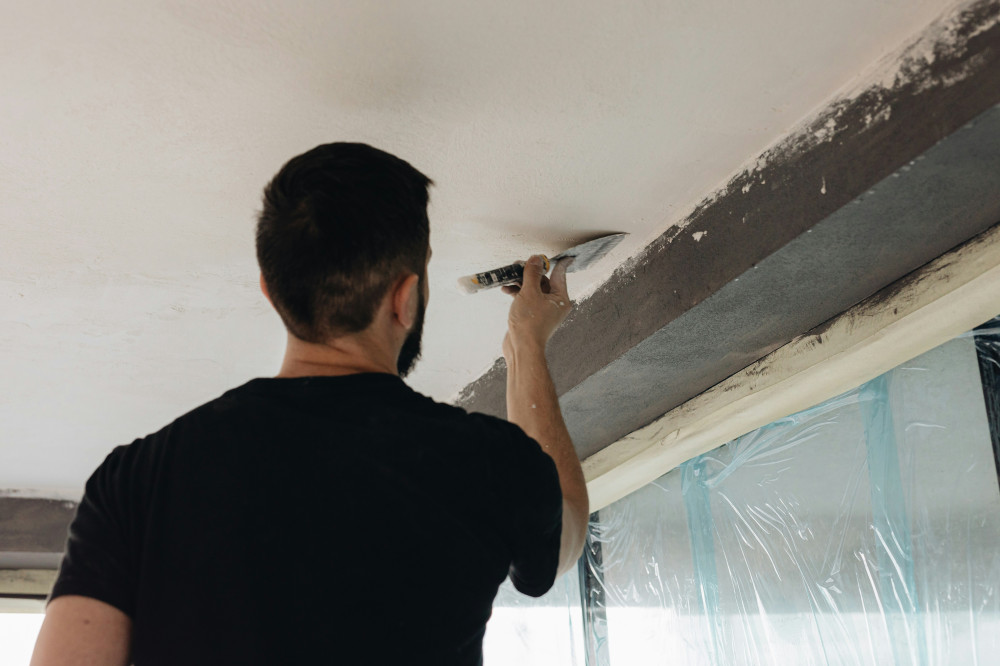
- An angled brush for cutting in around edges, vents, and light fixtures.
For popcorn ceilings, consider using a sprayer for the most even application, but make sure to mask off the entire room carefully to avoid overspray.
Paint in the Right Sequence
Start by cutting in around the edges with your brush before using the roller. Work in small sections—about 3x3 feet at a time—and roll in one consistent direction. Always maintain a wet edge, meaning you overlap slightly into the previous section before it dries. This prevents visible lines and uneven coverage.
When rolling, apply gentle, even pressure. Avoid overworking the paint, as this can flatten the texture or cause splatter. Once the entire ceiling is covered, lightly roll over the surface in one direction to even out the finish.
Let It Dry – and Check in Natural Light
Textured ceilings can look different depending on lighting. Once the paint is dry, inspect your work in natural daylight from multiple angles. If you notice thin spots or uneven coverage, apply a second coat after the first has fully dried.
A high-quality ceiling paint with good body will help fill minor imperfections while keeping the texture visible. The result should be a clean, consistent finish that enhances the texture rather than hiding it.
Læs også:

Maintenance and Cleaning
To keep your freshly painted ceiling looking great, dust it occasionally with a microfiber duster or vacuum brush attachment. Avoid using too much water when cleaning, as moisture can damage textured surfaces. For small stains, gently blot with a damp sponge and mild soap.
When it’s time for a refresh, you can paint directly over the existing surface—just make sure it’s clean and dry first.
A Ceiling with Character and Precision
Painting textured ceilings takes a bit more patience, but the payoff is worth it. With careful preparation, the right tools, and a steady hand, you can achieve a ceiling that’s both detailed and durable. The texture adds character and depth, while your attention to detail ensures a crisp, professional finish—proof that you don’t have to sacrifice precision for personality.
Læs også: